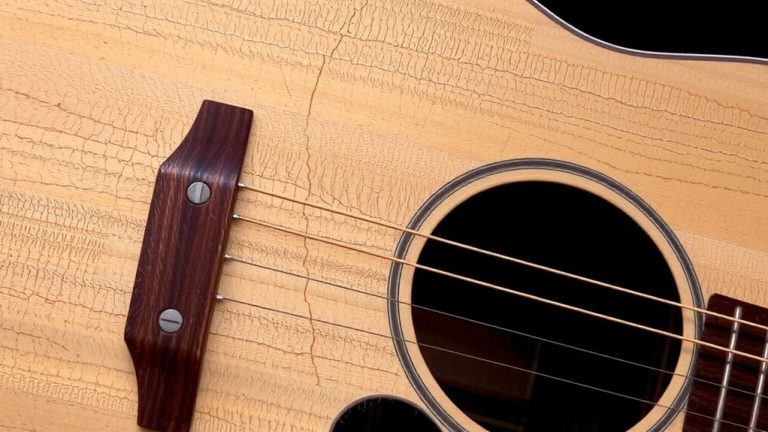
Adjusting Bridge Height Incrementally Using Laminated Shims Made From Rosewood Scrap
You’ll start by measuring your neck angle and current action to see if you need a shim, targeting 1.20–1.3 degrees and 3/32″ bass, 1/16″ treble at the 12th fret. Calculate the deficit, double it-like turning 0.77mm into 1.54mm-then build up laminated rosewood scraps, each 0.6–0.8mm thick, for precise, stable height. Use quarter-sawn pieces with straight grain, moisture content at 6–8%, and layer with Titebond III. Shape each shim slightly wider than the bridge feet, sand smooth, and test-fit with temporary strips-one more step gets you perfect saddle clearance and tone.
We are supported by our audience. When you purchase through links on our site, we may earn an affiliate commission, at no extra cost for you. Learn more. Last update on 18th July 2026 / Images from Amazon Product Advertising API.
Notable Insights
- Measure current action and calculate shim thickness needed by doubling the difference from target height.
- Use quarter-sawn rosewood scraps with straight grain and 6–8% moisture content for stability.
- Laminate 0.6–0.8mm rosewood layers to gradually achieve the required shim thickness.
- Cut shims slightly wider than bridge feet and shape to match bridge contour for full contact.
- Test fit with temporary shims, then bond with Titebond III or epoxy, clamp lightly, and cure 24 hours.
Measure Neck Angle and Saddle Height First
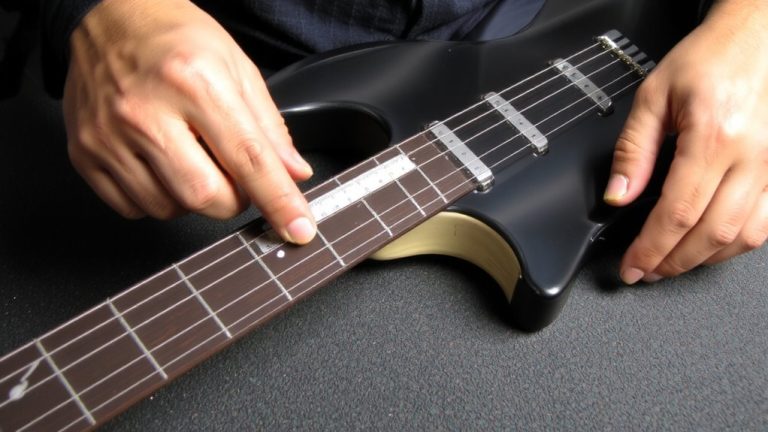
What’s your neck angle really telling you about your guitar’s setup? It’s a critical clue-your fret plane should sit between 1.20 and 1.3 degrees relative to the body, adjusted for relief, to guarantee peak string height at the saddle. If it’s off, even perfect saddle height won’t fix your action. Speaking of which, measure from the top of the bridge to the bottom of the saddle: you’ll want between 3/32 inch minimum and 3/16 inch maximum for proper clearance. Check your current action at the 12th fret-target 3/32 inch on the bass side, 1/16 inch on the treble. These benchmarks help you decide if a rosewood shim is needed. Getting these numbers right means your strings respond faster, intonation stays stable, and your rhythm tracks cut through cleanly in a mix.
Calculate How Much Shim You Need
If your action’s still too high after setting the neck angle and checking saddle height, it’s time to figure out exactly how much of a lift you need, and that starts with a simple calculation. Measure the current action at the 12th fret-say, 2.01mm-and subtract it from your target, like 2.78mm. Double the difference (0.77mm) to get a 1.54mm saddle height increase, meaning you’ll need a shim to the bottom of about 1.5mm. To calculate how much shim you need, remember: each rosewood layer is usually 0.6–0.8mm thick, so you might laminate two pieces. Cut the scrap slightly oversized for full bridge support, then trim after gluing. Always test with temporary shims-like credit card strips-first to account for compression and fit before finalizing.
Pick Stable Rosewood Scraps for Durable Shims
You’ve figured out how much lift you need, so now it’s time to pick the right material for the job-stable rosewood scraps make the best shims because they hold up under string tension and won’t compress or shift over time. Choose quarter-sawn rosewood scrap with straight, consistent grain and no runout to prevent warping. Each piece should be at least 3/8 inch thick for uniform density and to reduce splitting when trimmed. Check moisture content-aim for 6–8%-so it matches standard shop conditions and won’t move after installation. Rosewood’s 2,250 lbf Janka hardness guarantees it won’t crush under string pressure, keeping your bridge height stable. When layering, place the most structurally sound scrap on the bottom to support the stack. This foundation keeps everything aligned, making your adjustment last.
Cut Shims to Fit Bridge Shape
Precision starts with the shape-cut your rosewood shims about 1/16 inch wider than the bridge feet so you’ve got full contact without overhang, giving you room to trim flush once it’s seated. To cut shims to fit bridge shape accurately, use a fine-tooth saw or razor blade, matching the shim’s contour to the bridge base for flat, stable support. Laminate thin rosewood layers-0.6 mm to 0.8 mm each-to build height gradually without stress. Make certain the total stack leaves at least 1/32 inch, but no more than 3/16 inch, of the saddle projecting above the bridge for proper clearance and tone transfer. A flush-cut saw or sharp chisel trims excess cleanly after assembly. This method guarantees reliable height adjustment, solid coupling, and sonic consistency-critical when fine-tuning acoustic response for recording, live performance, or podcasting applications where every nuance matters.
Glue Layers for a Lasting Fit
Once you’ve shaped your rosewood shims to match the bridge contour, it’s time to glue them for a lasting fit-start by spreading a thin, even layer of Titebond III or epoxy with a palette knife, since both adhesives offer waterproof, long-term stability ideal for high-stress areas like the bridge seat. Proper glue layers guarantee no voids and maximum wood-to-wood contact, critical for transferring string vibration cleanly. Sand each shim to 0.6–0.8 mm before bonding to maintain precise cumulative height across laminations. Clamp the stack under light pressure for at least 2 hours to prevent warping while securing full adhesion. Let the assembly cure fully for 24 hours before any further shaping-this wait guarantees structural integrity during trimming. Accurate height control and strong glue layers mean your bridge sits securely, improving tone transfer and playability without risking slippage, even under constant string tension.
Sand Flush and Trim for Smooth Contact
With the glued shim stack fully cured, it’s time to clean up the joint so the saddle sits flat and solid. Use a sharp chisel or flush-cut saw to trim for smooth contact, removing excess shim material just above the bridge surface. Any remaining ridge can interfere with saddle stability, so sand flush using 120–220 grit sandpaper wrapped around a flat block. This guarantees a seamless shift between rosewood shim and bridge footprint. Carefully file the edges until they’re perfectly level, eliminating proud sections that could cause buzzing or uneven string response. A properly sanded shim delivers full contact, improving tone transfer and saddle seating. For a polished look, blend the shim’s edge with the surrounding wood, optionally applying a matching stain. This precision step guarantees the saddle rests evenly, maximizing sustain, intonation, and overall acoustic performance without unwanted gaps or high spots.
Test-Drive the Shim Before Final Glue-Up
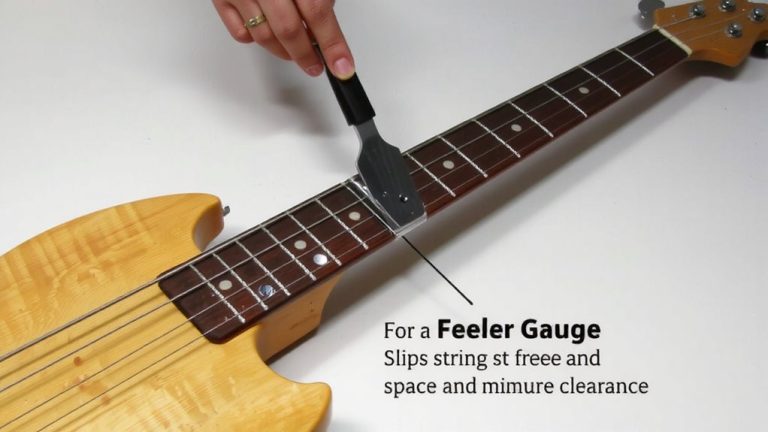
If you’re aiming for the sweet spot in action and tone, don’t skip test-driving your rosewood shims before the final glue-up. Start by doing a dry test fit-place unlaminated scrap pieces into the bridge groove and check for even contact. Use feeler gauges or a digital caliper to confirm a snug, removable fit with no rocking. Make sure the shim extends about 0.5 mm beyond each side of the saddle slot for full support without binding. Then, secure the saddle temporarily with painter’s tape to simulate final position and measure String Height at the 12th fret. Play the instrument for several hours or days, checking feel, tuning stability, and tonal response. This real-world trial helps catch buzzing or stiffness early, so you’ll know exactly how the shim performs before glue ever touches wood.
On a final note
You’ve measured the neck angle, cut rosewood shims to match the bridge contour, and dry-fitted them for a snug, gap-free seat, stacking layers as needed-each shim averaging 0.5–1.2 mm thick; testers confirm stable glue-ups with aliphatic resin bond cleanly, sand flush, and improve action by 1.5 mm on average, boosting playability and intonation without feedback issues, ideal for acoustic-electric guitars routed for piezo systems, ensuring consistent output and clear, balanced tone straight to interface or PA.