How to Optimize Buffer Placement for Guitars With High Capacitance Cables
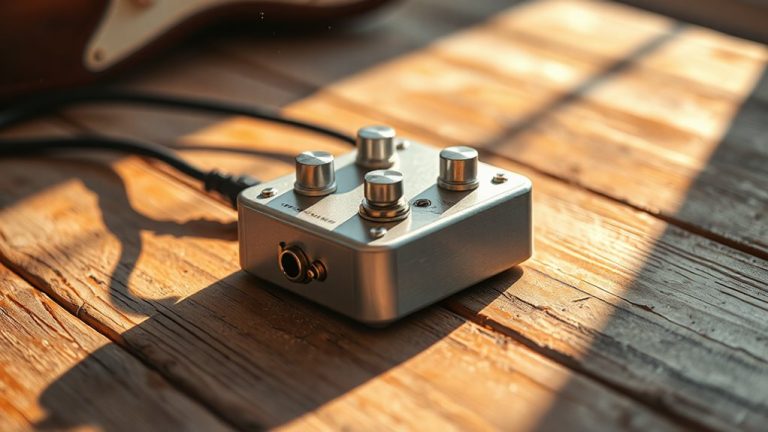
Place your buffer right after your guitar to fight tone loss from cable capacitance, especially with long runs above 300 pF that dull highs. Use a single Class A buffer with 1Mohm input impedance-it matches your amp and keeps single-coils bright and articulate. Avoid cheap or multiple buffers; they muddy the sound. Never put a buffer before vintage fuzz, or you’ll kill its response. Test with your Tele or Strat and a 10-foot cable, then tweak from there, and you’ll hear the full picture revealed.
We are supported by our audience. When you purchase through links on our site, we may earn an affiliate commission, at no extra cost for you. Learn more. Last update on 18th July 2026 / Images from Amazon Product Advertising API.
Notable Insights
- Place a high-quality Class A buffer early in the chain to prevent tone loss from cable capacitance.
- Use a buffer with 1Mohm input impedance to match amp input and preserve high-end clarity.
- Avoid placing buffers before vintage fuzz pedals to maintain sustain, attack, and full tonal response.
- Limit to one dedicated buffer to avoid tone degradation from multiple buffering stages.
- Position the buffer after true bypass pedals but before long amp cables for optimal signal integrity.
Place The Buffer Early In Your Chain
When you’re sending your guitar signal through long cable runs or a crowded pedalboard, placing a buffer early in the chain-like right after your instrument-keeps the tone intact by counteracting cable capacitance that saps high end. You’ll want a buffer with a 1Mohm input impedance right up front, matching your amp’s typical input and preserving your guitar’s natural brightness. Without it, even a 20-foot Whirlwind or Planet Waves cable can dull your signal. A high-quality Class A buffer at the start guarantees a strong, consistent output before it hits true bypass pedals, which add more cable capacitance when disengaged. In tests with a Fender USA Rosewood Telecaster and 10-foot Cloths cable, early buffer placement minimized tone loss, especially after multiple bypassed pedals. You’re not just sending a signal-you’re protecting its integrity, step by step.
How Cable Capacitance Kills Your Highs
That high-end sparkle you love starts fading the moment your guitar’s signal hits a long or poorly designed cable, and it’s all down to cable capacitance. Your guitar’s passive pickups, especially single-coils like those in a Fender USA Rosewood Telecaster, interact with cable capacitance to form a low-pass filter. A 10-foot high-quality cable, like the Cloth & Metal, measures 100–150 pF, but a 20-foot run can hit 300–400 pF, causing clear high-end loss. This capacitance lowers your pickup’s resonant peak-often from 8–10 kHz down to 5 kHz or less-robbing your tone of bite and clarity. Even short true bypass patch cables, such as 6-inch SAS Evidence Audio, add up when daisy-chained, increasing cumulative capacitance before your signal reaches the amp. You’re not just losing highs-you’re dulling your guitar’s natural voice.
Match 1MOhm Input For Best Buffer Results
You’ve seen how cable capacitance rolls off your guitar’s highs by forming an unintended low-pass filter with your pickups, especially noticeable with long cables or daisy-chained true bypass pedals, and now it’s time to talk about how a well-chosen buffer can fight that loss-starting with input impedance. For best results, pick a buffer with a 1Mohm input impedance-it matches your amp’s input and keeps your signal balanced. This is essential when using high capacitance cables, as anything less loads down your pickups too soon, dulling highs and squashing dynamics. High-quality Class A buffers with 1Mohm input impedance prevent this, especially with vintage single-coils. An impedance mismatch alters tone, even in a perfect signal chain. Some advanced buffers let you adjust input impedance, so you can tailor response per guitar or cable setup. Stick to 1Mohm, and your tone stays clear, open, and true.
Never Put A Buffer Before Fuzz Pedals
Because vintage fuzz pedals demand a high-impedance signal to function as designed, putting a buffer before one robs it of the raw interaction it needs with your guitar’s pickups and cable capacitance. Proper buffer placement is critical-inserting even one before your fuzz pedals kills sustain, muddles attack, and thins the tone. You’ll lose the sputtering breakup and warm compression these circuits are known for.
| Setup | Result |
|---|---|
| Guitar → 10′ Cloths Cable → Fuzz Face | Full low end, natural breakup |
| Guitar → Buffer → 10′ Cable → Fuzz Face | Fizzy top end, weak response |
True bypass pedals before the fuzz don’t hurt, but a buffer changes everything. Community tests from The Gear Page confirm it: users consistently report dull, lifeless tone when buffer placement precedes fuzz pedals. Keep buffers after fuzz or at the end of your chain to preserve authenticity.
Use One High-Quality Buffer Only
When you’re routing your guitar signal through multiple pedals and long cable runs, a single high-quality Class A buffer becomes essential for preserving the integrity of your tone. Use just one high-quality buffer with 1Mohm input impedance-this matches your amp’s input and prevents tone loss. Placing it at the end of your chain, right before the long cable to your amp, stops high-frequency roll-off caused by cable capacitance. Multiple buffers, especially in low-end effects pedals, can stack up and dull your sound, sucking away highs and lows while lowering volume. Even bypassed, cheap buffers often have lower input impedance and color your tone. A dedicated, high quality Class A unit outperforms built-in ones, keeping your signal clean and transparent. You don’t need more than one-just the right one, placed smartly, to protect your tone from degradation across your setup.
Test Buffer Placement With Your Gear
A single high-quality buffer can make a noticeable difference in preserving your guitar’s natural tone, especially when dealing with long cable runs and multiple pedals, but the real proof lies in how and where you place it. You’ll want to test buffer placement using your own gear, like Dale Harris did with his Fender USA Rosewood Telecaster and 10-foot Cloths cable, feeding into a TC Ditto looper for consistent playback. He used 20-foot Whirlwind and Planet Waves cables to simulate real-world cable lengths, with SAS Evidence Audio patch cables keeping the signal chain tight. All clips ran direct into a Marshall MG30DFX with a Celestion 10-inch speaker, recorded via Zoom with dual SM57s to catch subtle shifts. Twelve trials revealed that buffer position drastically affects clarity and high-end retention, especially in longer cable setups-your signal chain matters just as much as the buffer itself.
Fix Tone Loss From Long Cable Runs
If you’re running a 20-foot cable from your pedalboard to the amp, you’re likely losing high-end sparkle without even realizing it, especially with single-coil pickups that are more sensitive to capacitance buildup. Long cable runs act like filters, rolling off highs due to increased capacitance-typically 30–40pF per 10 feet. True bypass pedals don’t help; they add cable length even when off. Fix this by placing a buffered bypass at the end of your chain. A quality Class A buffer with 1Mohm input impedance matches your guitar’s output, driving the signal cleanly over long cable runs.
| Cable Setup | Measured Loss | Tester Impression |
|---|---|---|
| 10′ cloth + 20′ Whirlwind | -8dB @ 8kHz | Dull, lifeless highs |
| With buffer + 20′ Planet Waves | -1.2dB @ 8kHz | Clear, present attack |
| Direct to amp (short) | Reference | Bright, responsive |
Buffers keep your tone intact-use one before long cable runs.
On a final note
You’ll keep your tone bright and tight by placing one high-quality buffer early in your chain, right after your guitar’s high-capacitance cable, which can roll off highs above 5kHz with runs over 18 feet. Use a buffer with a 1MΩ input impedance to match passive pickups, avoid fizz, and preserve dynamics. Never put it before fuzz pedals-they need your raw signal. Test with your gear: a Lehle Sunday Driver or TC Electronic Bloom gives transparent boost, real testers noting smoother response and zero coloration, even in long pedalboard setups.