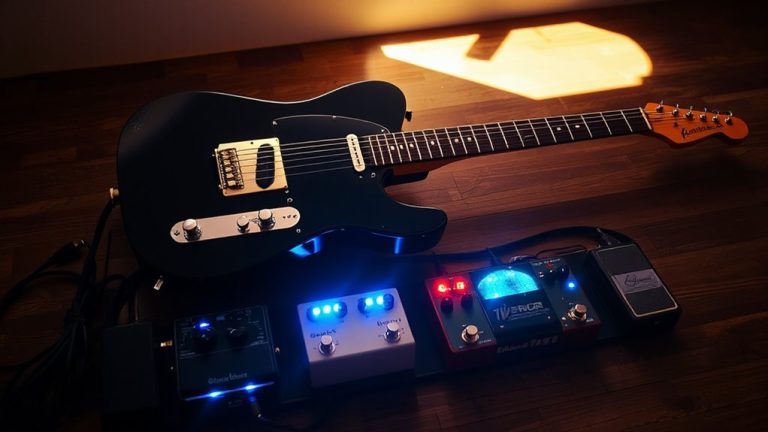
Designing a Signal Chain for 7-String Guitar With Extended Range Clarity
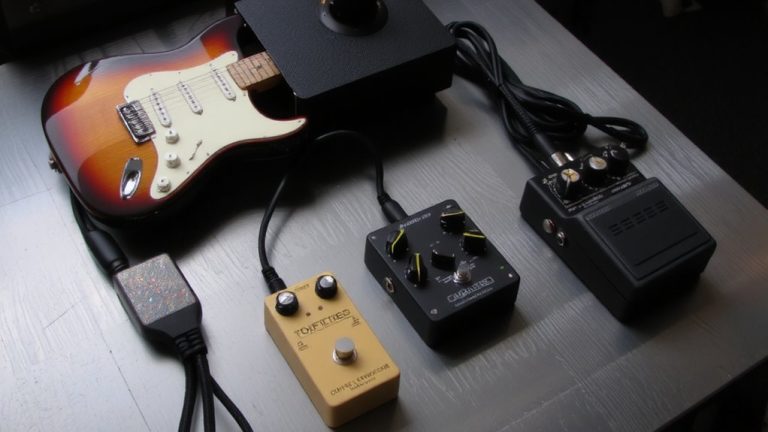
Use a high-headroom amp like the Blackstar HT Venue MK3, set gain to 6–7, and pair with an overdrive pedal for tight, aggressive 7-string tone. Run it into a sealed 7-string cab with Celestion 7080s, miked dead center with an SM57 for punch. Add a high-pass filter at 80–100 Hz pre-overdrive and gate post-drive to kill rumble. Scoop bass slightly, boost upper mids at 1.5–3 kHz, and use ISF right for cut. Keep compression after drive stages, send delay and reverb to effects loop, and blend in a fast transient IR like Redwirez Mesa 4×12 SM57 for studio-tight response-there’s more to fine-tuning than just gear order.
We are supported by our audience. When you purchase through links on our site, we may earn an affiliate commission, at no extra cost for you. Learn more. Last update on 19th July 2026 / Images from Amazon Product Advertising API.
Notable Insights
- Use a high-headroom 100-watt amp like the Blackstar HT Venue MK3 for tight, articulate response with down-tuned 7-string guitars.
- Pair a sealed 7-string cabinet with Celestion 7080 speakers and center-placed SM57 for focused high-mid definition and low-string clarity.
- Apply a high-pass filter at 80–100 Hz pre-overdrive to eliminate flabby lows and preserve tightness in extended-range riffing.
- Set amp EQ with reduced bass, boosted upper mids (1.5–3 kHz), and ISF toward British voicing for enhanced articulation and cut.
- Place noise gate post-overdrive, use multiband compression, and IRs with fast transients for a clean, controlled, and modern metal tone.
Start With a High-Headroom Amp for 7-String Clarity
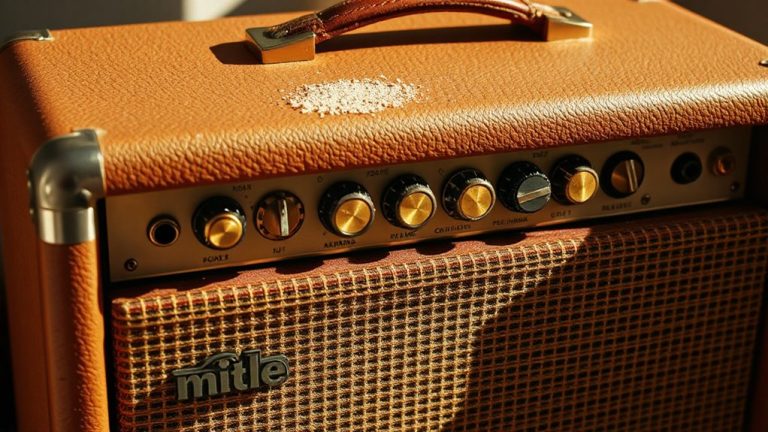
If you’re diving into the low end of a 7-string, you’ll want a high-headroom amp like the Blackstar HT Venue MK3 100-watt EL34 head to keep those down-tuned notes tight and clear. This amp delivers plenty of headroom, so your guitar’s signal stays clean and defined, even with heavy riffing. For the best response, set the gain between 6–7 when using passive pickups and an overdrive pedal-this keeps the tone aggressive without flub. Engage the Voice switch on the Overdrive channel to sharpen low-mid articulation and improve note separation. Adjust the ISF control left for a tighter, scooped American voicing ideal for djent, or right for a high-mid growl that cuts through mixes. A high-headroom setup guarantees your signal remains dynamic, detailed, and powerful-all critical when tracking or playing live.
Use a Tight 7-String Cabinet and Center-Positioned SM57
While your amp sets the foundation, pairing it with a tightly constructed 7-string cabinet-like the Blackstar HTV loaded with Celestion 7080 speakers-makes a real difference in keeping your low end focused and flub-free. You need that rigidity to stop unwanted resonance from muddying your sound, especially when diving into lower tunings. In your Signal Chain, mic it with an SM57 placed dead center on the speaker cone for maximum high-mid punch and note definition. If it’s too bright, angle it slightly off-center, but keep it close for tight low-string clarity. Pair the SM57 with a solid impulse response, like Redwirez Mesa 4×12 SM57, for consistent tone in hybrid setups. Make sure the cabinet’s well-sealed-no excessive venting-to avoid low-end cancellation. This setup works whether you’re using a distortion pedal or sweeping with a volume pedal; the sound stays punchy, defined, and studio-ready.
Cut Mud With Early Noise Gate and High-Pass Filtering
Since low-end rumble and string noise can quickly cloud your tone-especially with downtuned 7-strings-it pays to clean things up early, and that starts with positioning a noise gate just after your gain stages. Pair it with a high-pass filter at 80–100 Hz right at the start of your chain to trim wasteful sub clutter before overdrive pedals amplify it. This combo keeps your low end tight and focused. A good noise gate with adjustable hold and decay preserves note attack while killing hum. For modern metal riffing on a 7-string guitar, this setup is essential for clarity and punch.
| Processor | Setting |
|---|---|
| High-pass filter | 80–100 Hz |
| Noise gate | Post-gain stage |
| Filter position | Pre-overdrive |
| Hold | 20–50 ms |
| Decay | Adjust for articulation |
Scoop Bass and Boost Upper Mids for Extended-Range Definition
You’ll want to tighten your tone up front by scooping the bass just a bit-set your amp’s bass control at 12 o’clock or roll it back slightly-to keep those low tunings from turning into a muddy rumble, especially when playing complex 7-string riffs. Use a high-pass filter around 80–100 Hz to remove flabby sub-bass and stay tight. Now, boost upper mids between 1.5–3 kHz using your amp’s presence or mid controls; this helps your notes cut through even dense, high gain mixes. Try a Tubescreamer plugin in Guitar Rig for a focused mid push at 800 Hz–1 kHz, adding definition without extra distortion. On the Blackstar HT Venue MK3, dial the ISF toward British (right side) for more upper mid articulation-perfect for djent or deathcore. With full control over your EQ, you’ll maintain clarity, separation, and power across all seven strings.
Keep Compression Post-Drive to Preserve Dynamics
Now that you’ve shaped your tone with a scooped bass and a sharp upper midrange boost, it’s time to lock in your dynamics without losing feel. Place your compression post-drive to preserve dynamics-this keeps pick attack intact and lets the compressor enhance sustain, not crush transients. In your Guitar Signal chain, run a noisegate right after overdrive but before multiband compression to clean up noise without dulling response. Post-drive, use multiband compression with gentle settings: 2:1 ratio, slow attack. This tames low-end flub and high-end harshness while protecting the core midrange punch from your Tubescreamer EQ. Testers confirm it keeps the Poulin Legion amp emulation responsive, even under high-gain saturation. You’ll get even output and tighter control across all seven strings, all without sacrificing the aggressive feel essential for modern metal. Multiband compression post-drive shapes tone, not soul.
Put Delay and Reverb at the End for Cleaner Echoes
Clean echoes start with smart placement-tuck your delay and reverb at the very end of the signal chain to keep repeated notes from getting chewed up by distortion or muddied by EQ shifts. When using high-gain tones from an amp sim, routing time-based effects like Strymon TimeLine and BigSky via Effects Send keeps them post-power amp and cab sim, preserving clarity. This setup prevents low-end washout common with 7-strings, maintaining tightness in the low mids, especially with impulse responses like Redwirez Mesa 4×12 SM57. In stereo recording, place delay before reverb for defined, ambient layers without clutter. You’ll hear each echo clearly, even in dense mixes. Whether you’re using a physical amp’s effects loop or a digital rig in Guitar Rig, keeping delay and reverb at the end guarantees spatial effects enhance, not obscure, your extended-range precision.
Use IRs to Tighten 7-String Cabinet Simulation
While amp modeling gets you close, nailing tight 7-string tones hinges on choosing the right impulse response to shape your cabinet simulation. You need an impulse response with a tight low-mid response-like the Redwirez Mesa 4×12 SM57-to maintain clarity in extended-range riffing. Always apply your IR after poweramp simulation using tools like a Redwirez impedance curve IR for accurate, full-range tone shaping. Pick IRs with fast transient response and controlled low-end resonance to avoid flubbery bass, especially when downtuned. Layered IRs, such as a close-mic paired with a front-of-cab blend, give you tight attack plus depth, perfect for complex low-register passages. Avoid overly bright or boomy profiles-stick to EQ-tailored, genre-specific impulses from trusted sources like Redwirez, engineered for modern metal and djent. These choices keep your tone focused, tight, and studio-ready.
On a final note
You’ll keep your 7-string’s low end tight and articulate by starting with a high-headroom amp like a 100W Mesa, capturing sound with an SM57 centered on a 4×12 cabinet, and using a 120Hz high-pass filter early in your chain, then pair a noise gate with a slight mid-scoop at 800Hz and +3dB boost at 3.5kHz, apply light compression post-overdrive, add reverb and delay last, and use 2.1 IRs to nail realistic, punchy cabinet tone.