Correct Way to Route Additional Space for Humbuster-sized Pickups in Thinline Semi-Acoustics
Measure your humbucker-it’s likely 70 mm long, 38 mm wide, and needs a 24 mm deep cavity. Use digital calipers, check for binding around screws and springs, then build a 1/4″ plywood template for precision. Route with a top-bearing 3/8″ flush-trim bit, clamp a sacrificial block inside, and never cut deeper than 18 mm to protect the 20–22 mm center block. Test-fit with isolation washers, guarantee flush seating, and secure with brass ferrules-clean alignment prevents microphonics, just like we learned the hard way on that ES-335 mod, and there’s more to get right.
We are supported by our audience. When you purchase through links on our site, we may earn an affiliate commission, at no extra cost for you. Learn more. Last update on 20th July 2026 / Images from Amazon Product Advertising API.
Notable Insights
- Measure existing cavity and humbucker dimensions to identify precise routing needs and avoid structural damage.
- Use a 1/4″ plywood or acrylic template matching humbucker size to ensure accurate, consistent cavity outlines.
- Secure the template with double-sided tape and trace carefully between reference points to prevent misalignment.
- Route incrementally with a top-bearing flush-trim bit at controlled depth, preserving at least 20 mm center block thickness.
- Test-fit the humbucker with mounting hardware to confirm full seating and check alignment with pickguard openings.
Measure Your Humbucker and Cavity Dimensions
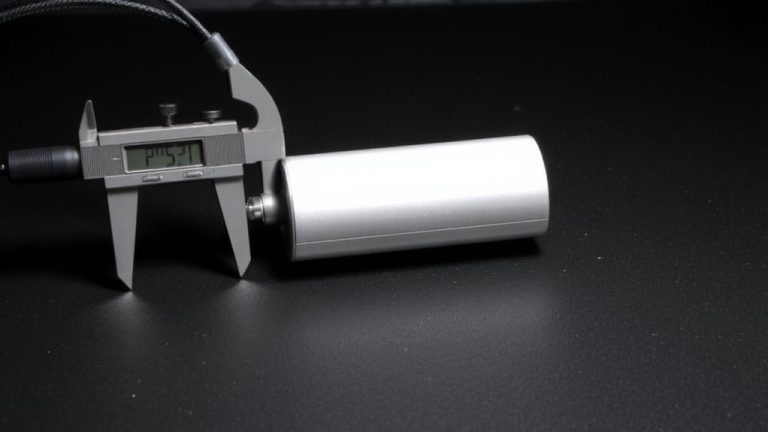
Precision starts with the right numbers, so grab your humbucker and a pair of digital calipers-this step’s all about making sure your pickup fits like it was made for the body, because ideally, it should be. To measure your humbucker, note the standard size: 70 mm long, 38 mm wide, 24 mm high-perfect for most humbucker pickups. Check your Tele Thinline’s pickup cavity dimensions carefully; many Fender Musical Instruments routes, like those in the Stratocaster® and the associated models, fit P90s but may need elongation. Use calipers to record depth and outline, ensuring space for pole pieces and mounting hardware. Avoid binding by confirming the cavity extends deep enough for baseplate screws and springs. Mark any discrepancies directly on the body before routing. Getting these numbers right prevents overcutting and keeps your guitar’s integrity intact.
Build a Template for Accurate Humbucker Routing
A well-made template saves you time and guarantees your humbucker sits flush and aligned where it should-use a piece of 1/4″ plywood or acrylic cut to 70 mm long by 38 mm wide, matching standard humbucker dimensions, and sand the edges smooth to prevent snagging. This template assures precise routing on your Thinline Semi Hollow body, where accuracy is critical. Trace the outline with a sharp pencil, aligning it between the pickguard screw holes and bridge position for correct pickup cavity placement. Secure the template with double-sided tape to keep it from shifting during routing. Use a top-bearing 3/8″ spiral flush-trim bit in a fixed-base router, set to 24 mm depth, so the humbucker fits snugly without modification. This method delivers clean, repeatable results across multiple builds, assuring consistent performance and professional finish every time.
Route Safely Without Damaging the Thinline Body
While your template keeps the outline accurate, you’ve got to mind the depth and internal structure when routing into a thinline semi-hollow body, since going too deep-or too close to the chambers-can weaken the guitar or cause blowout. To route safely on your Thinline Telecaster, set your pilot bearing-guided router bit to cut no more than 18 mm deep, preserving the 20–22 mm center block. Use a 38 mm wide, 70 mm long bit to match the humbucker cavity exactly, avoiding internal bracing. Clamp a sacrificial wood block inside beneath the cut to support the back and avoid blowout during chip ejection. Maintain a minimum 5 mm wall thickness between the cavity and any body chamber, measured from known routes. This precision protects structural integrity. Later, you’ll test fit the pickup, but for now, clean routing guarantees stability and long-term performance.
Test-Fit the Pickup to Prevent Gaps or Instability
Once you’ve routed the cavity, it’s time to drop the humbucker in for a test-fit-this step’s essential, because even a 1 mm gap between the pickup ring and the body can lead to microphonic feedback, especially under high gain. Place the 70 mm × 38 mm humbucker into the routed cavity with mounting screws loose, checking for wobbling or uneven seating. A stable pickup must sit flush across all four corners, with the pickup ring tight against the wood. Use a cardboard template to verify both neck and bridge routes match. Test-fit with the pickguard installed to confirm proper alignment between the pickguard’s opening and the cavity, avoiding exposed gaps. A flush fit prevents movement from string vibration, ensuring consistent tone and eliminating buzz. This simple check improves stability, grounding, and overall signal clarity-critical for recording or live use.
Secure the Humbucker for Stable Height and Tone
Since getting your humbucker sitting just right affects both tone and performance, you’ll want to secure it properly using adjustable mounting rings that let you choose between 3mm and 6mm heights-this range gives you enough flexibility to align the pickup precisely with the pickguard and string plane. Use two #6-32 flathead wood screws per side, threaded into brass ferrules anchored in the body, to prevent stripping and allow fine pickup height tuning. Install rubber isolation washers or silicone grommets beneath the ring to dampen microphonics common in semi-hollow bodies. Make certain the humbucker base rests flat in a fully routed cavity to stop rocking. Set the bridge humbucker’s pole piece height to 3.2mm (bass) and 1.6mm (treble) from the low E string at the highest fret for balanced output. This method lets you secure humbucker stability, maintain clarity, and preserve tonal consistency across dynamic playing styles.
On a final note
You’ve routed cleanly and accurately, so your humbucker sits flush with no buzz or movement. Keep pickup height at 1/8″ (3.2mm) from strings for balanced output and clarity. Use threaded bushings and flat-footed rings to avoid stress on the thinline body. Test with your usual amp and pedals-you’ll hear tighter lows and smoother mids. Secure leads with braided shielding wire to cut noise. This mod works great for jazz, rock, and podcast tone beds.