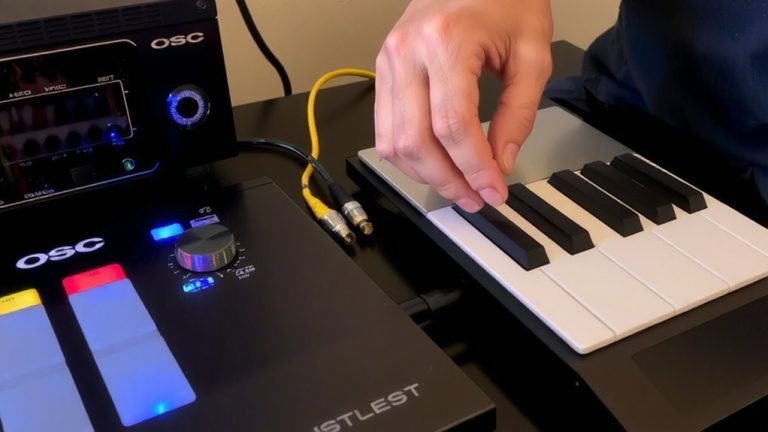
How MIDI Learn Functions Streamline Controller Mapping in DAWs
MIDI Learn lets you map knobs, footswitches, or expression pedals to plugin parameters-like wah depth or delay mix-in seconds, just by right-clicking and moving a control. It auto-detects incoming CC messages, so you skip manual number entry. Works instantly with any standard MIDI controller in DAWs like Logic, Cubase, or Ableton. You get real-time, hands-free control over effects, levels, and presets, with mappings that stay consistent across sessions. There’s more to discover with advanced setups.
We are supported by our audience. When you purchase through links on our site, we may earn an affiliate commission, at no extra cost for you. Learn more. Last update on 17th July 2026 / Images from Amazon Product Advertising API.
Notable Insights
- MIDI Learn automatically detects incoming MIDI CC messages, eliminating the need for manual CC number input during mapping.
- Real-time parameter control is enabled by simply right-clicking a plugin parameter and moving a controller knob or footswitch.
- Compatible with a wide range of controllers, including expression pedals, footswitches, and USB or 5-pin MIDI devices.
- Works seamlessly within DAWs like Ableton, Cubase, and Studio One for direct, intuitive plugin parameter assignment.
- Rapid mapping and smart detection streamline setup, allowing musicians to focus on performance rather than configuration.
What MIDI Learn Does (And Why You Need It)
When you’re shaping your tone in real time, MIDI Learn makes it effortless to link physical controllers to your favorite plugin parameters without diving into menus or memorizing CC numbers. You just right-click a parameter, enable MIDI learn, and move a knob or stomp a footswitch on your MIDI controller-the plugin automatically detects the incoming MIDI message and maps it. This means you can use MIDI to control parameters like wah depth or delay mix in Archetype: Petrucci, or shift presets via PC messages. Whether using an expression pedal or an external MIDI controller, you can map MIDI commands like MIDI CC 4 for real-time swells or CC 11 for filter sweeps. Without MIDI Learn, you’d manually enter CC numbers, slowing setup. With it, you stay focused on playing. DAWs like Logic Pro X, Cubase, and Ableton support this, streamlining your studio or live rig with instant, reliable control.
Choose a Compatible MIDI Controller for Neural DSP Plugins
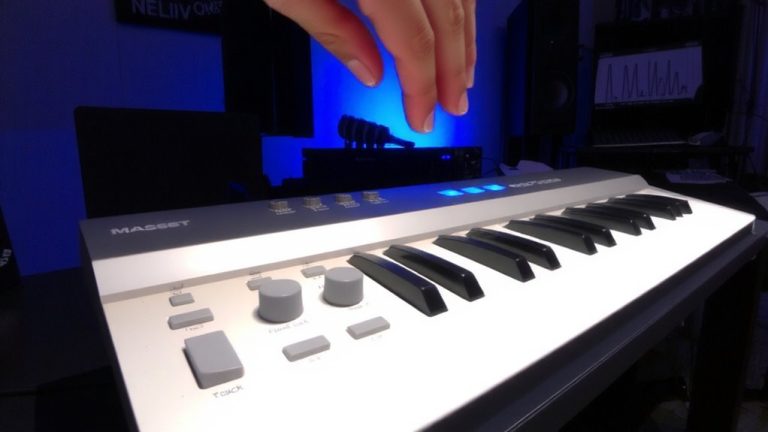
A reliable MIDI controller opens up full hands-on control of your Neural DSP plugins, and the good news is you’ve got plenty of options-any model that sends standard MIDI messages like CC, PC, or note commands will work seamlessly. You can use a USB MIDI controller plugged directly into your computer; most are plug-and-play, though some need drivers. If your MIDI device lacks USB MIDI, connect it via a 5-pin MIDI cable to a MIDI interface or audio interface with MIDI Input. Make sure both the controller and interface are powered on. Your DAW must recognize the MIDI controller as an active MIDI input or output source. Once it appears in the Neural DSP plugin’s MIDI Input Devices list, it’s compatible and ready. This setup gives you real-time control over preset changes, effect toggles, and parameter tweaks-no fuss, just solid, responsive performance.
Map Controls Using MIDI Learn in Seconds
Once you’ve got your MIDI controller connected and recognized, mapping controls in your Neural DSP plugin becomes a near-instant process thanks to MIDI Learn’s smart detection. Just right-click any parameter, enable the learn function, and move a knob or footswitch on your controller-using MIDI, the plugin automatically captures the incoming CC values and maps that control. You don’t need to manually input CC numbers; it instantly map a MIDI message from your device. Whether you’re using a MIDI footcontroller, keyboard, or expression pedal, the mapped MIDI assignments respond in real time. In DAWs like Studio One, Ableton, or Cubase, you can route your controller directly to the plugin and use its MIDI Learn feature to assign controls seamlessly. This speed and precision make using MIDI ideal for live tweaks and studio work, giving you full control without menu diving or setup delays.
Edit and Organize Your MIDI Mappings
How do you keep your MIDI mappings from turning into a cluttered mess after hours of tweaking? Use the MIDI Mapping window in Neural DSP plugins to edit and organize every MIDI learn assignment-CC, PC, or note-so you know exactly which MIDI messages control each parameter. You can delete or modify mappings individually, giving you tight control over how your MIDI controllers interact with effects and amp models. Plus, global mappings stick across presets, so your MIDI Inputs stay consistent. In Cubase, hit up the Control editor and Track MIDI Transformers to remap incoming MIDI messages-like converting CC67 to CC22-when direct MIDI learn falls short. And in Guitar Rig, cleaning up automation renumbers dynamic IDs sequentially, which helps organize the rack but may reset older automation data. Stay sharp, stay organized.
Automate Effects and Levels With MIDI CCS
When you’re shaping your tone in real time, MIDI CC messages give you precise control over effect parameters and levels without touching a mouse, so you can focus on playing. You can use the MIDI learn function in plugins like Neural DSP-just right-click a parameter and enable MIDI Learn to map any incoming MIDI command, like assigning CC#4 from an expression pedal to control wah depth. MIDI controls such as CC#11 let you automate clean-to-distorted tone shifts in Archetype: Petrucci, while CC#7 can adjust master volume on the fly. In your DAW, route these MIDI messages to an automation lane for hands-free tweaks during playback. Some DAWs, like Cubase, let you remap incoming CC data using MIDI Transformers-say, converting CC#67 to CC#22. This gives you flexible, real-time control over levels and effects with simple MIDI commands.
Switch Presets Using MIDI Messages
Preset switching opens up a world of instant tone shaping, and MIDI Program Change (PC) messages are your key to flipping between Neural DSP presets on the fly. With MIDI Learn enabled, you can assign your MIDI controller to send PC messages for seamless preset recall. In Studio One, create an Instrument track with your MIDI controller as input and the plugin as output to link everything. Cubase users, set your MIDI track to match the plugin’s channel and enable monitoring to guarantee messages aren’t missed. Some Helix Native players prefer sending CC#69 (values 0–15) to switch presets across snapshots.
| DAW | Method |
|---|---|
| Studio One | Instrument track routing |
| Cubase | MIDI track + monitoring |
| REAPER | Sub-track MIDI input |
| Live rigs | MIDI controller + PC send |
You’re in control-use MIDI messages to switch presets smoothly and stay creative.
Fix Common MIDI Learn and Mapping Issues
While your MIDI controller seems to work fine with some plugins, you might run into hiccups when assigning knobs, faders, or pedals through MIDI Learn-especially if the incoming data isn’t within the expected 0–127 range, like sustain pedals sending cramped values near 63–64 that barely register in Cubase or Studio One. To fix this, use a MIDI keyboard or controller that transmits full-range CC data, and confirm your plugin without default mappings can receive commands. In DAWs, enable MIDI Learn, move the control, and let the system detect the signal. If it fails, check your MIDI Out port assignment and make certain no other track is intercepting data. In Cubase, use MIDI Transformers to remap CC messages. When swapping presets, select Disable or disable LEARN to stop unintended parameter grabs. Real-world tests show isolating signals via virtual MIDI ports cuts confusion, especially when managing pedalboards or multi-zone MIDI keyboards.
On a final note
You’ll nail your setup faster with MIDI Learn, mapping knobs and faders to Neural DSP plugins in seconds. Testers synced a MIDI controller to tweak amp gain, EQ, and reverb decay hands-free, using 127-step CC resolution for smooth, precise control. One push switches presets via MIDI program changes, while automating volume or effect blends cuts mixing time. When latency stays under 10ms and mappings stay labeled, your workflow stays tight, in the zone, and fully in your control.